
Get into Source Programming - Getting and Building Enhanced Source (Part 1)


What is this guide?
This tutorial series will cover how to get started with Enhanced Source, making your first entity (a cute little froggie!) as well as the basics on how to use Git effectively.
Enhanced Source is a modified version of the Alien Swarm SDK containing a large amounts of community fixes, Visual Studio 2019 support, game and SDK templates as well as intergating security and other fixes not included with the Valve SDK.

What you need:
- Visual Studio 2019 (community, professional or enterprise)
- A Git client (this guide will cover using Git Bash, however if you are already familiar with another Git client, you may substitute that for your own)
- A Github account
- 15-30 minutes of free time
Let's get started!
Cloning Enhanced Source
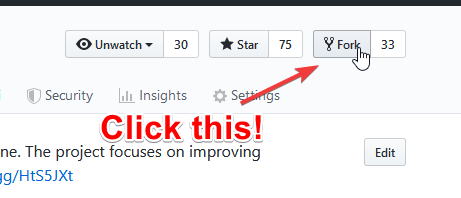
Firstly, we are going to want to fork the repo for ourselves on Github, that way we have somewhere to commit our changes, to do that we need to go the the Enhanced Source repository and click the Fork button to make your own copy where you can publish your changes!
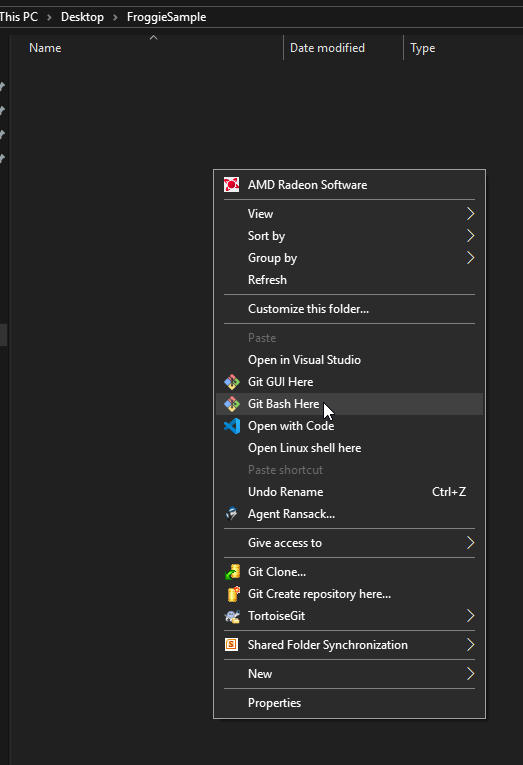
This should redirect you to your fork, which we can now clone locally and make changes against, to do so, right click in the folder in which you want to clone the repo to and select Git Bash Here.
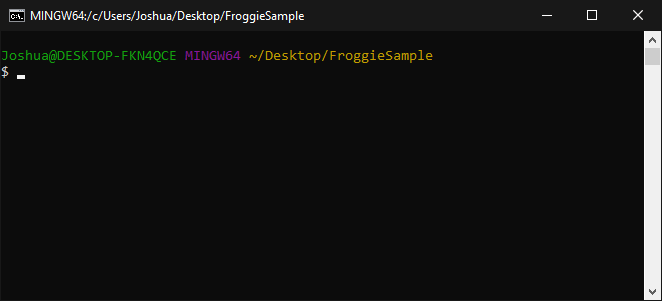
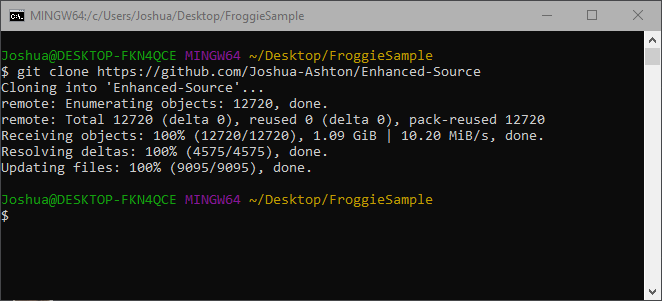
Once we've opened Git Bash, we should get a blank prompt like this:
In which we can enter git clone [the url of our fork], substituting in the address to our fork online, which should look something like this:
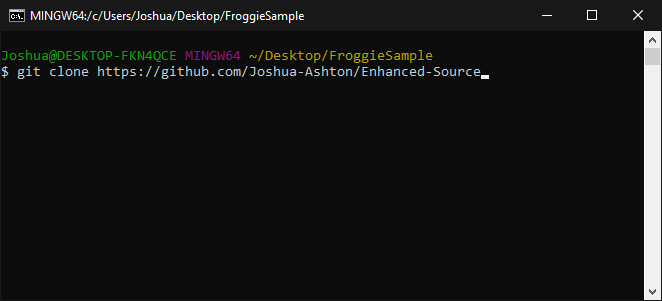
Press enter, and it should begin to clone your own copy of Enhanced-Source to a folder! (the speed of which will depend on your Internet connection)
Getting started with and building Enhanced Source
First, we'll want to move to the src directory and run vpc_projecttype_regkey_fix.reg which will install some project templates for older versions of Visual Studio (needed for the VPC project generator to function with Visual Studio 2019.) It may ask you for admin permissions for this, and if you are sure, just agree to that.
Secondly, we need to run creategameprojects2019.bat to generate the Visual Studio projects and solution file, you can just double click on this.
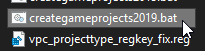
You will notice a command prompt launch, spew out some misc. information then close, and you should notice we magically have some Visual Studio 2019 solutions for the different templates!
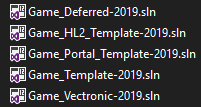
We're going to open Game_Template-2019.sln.

The first thing we are going to want to do while here is to change our build type from Debug to Release.
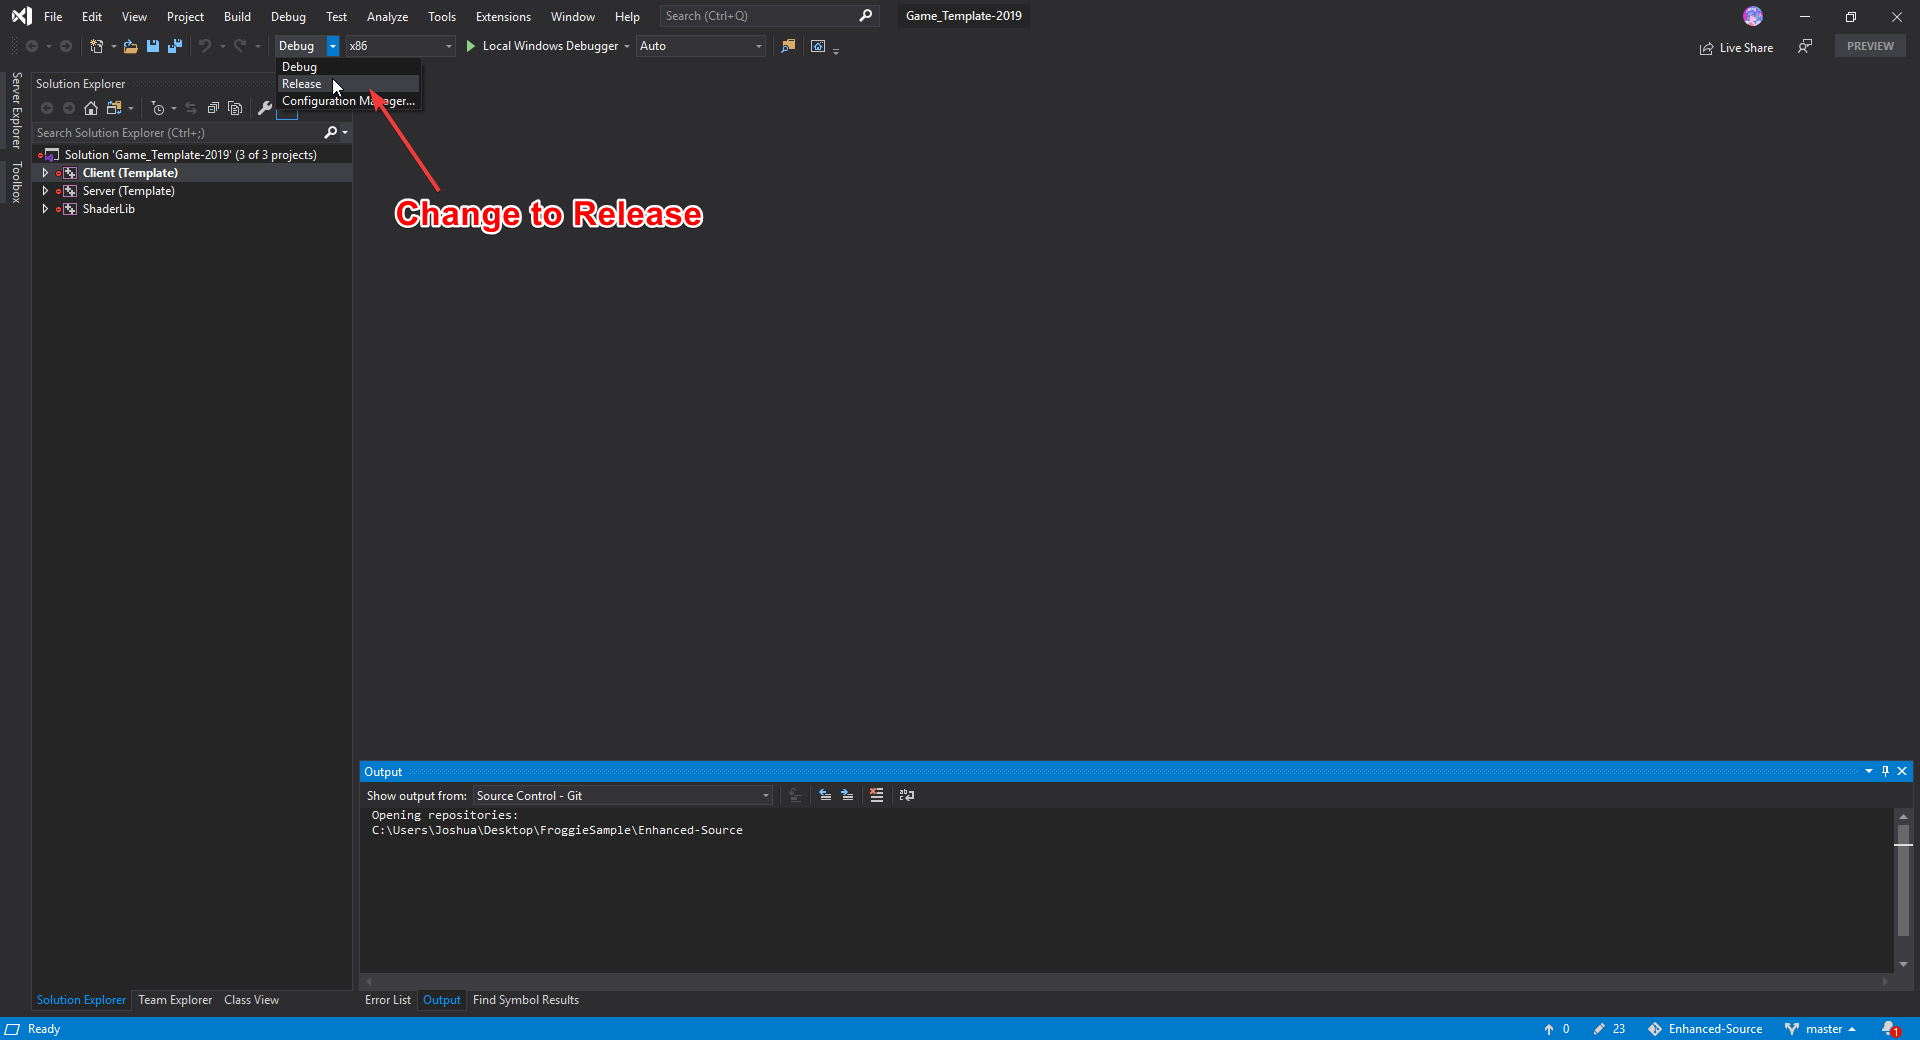
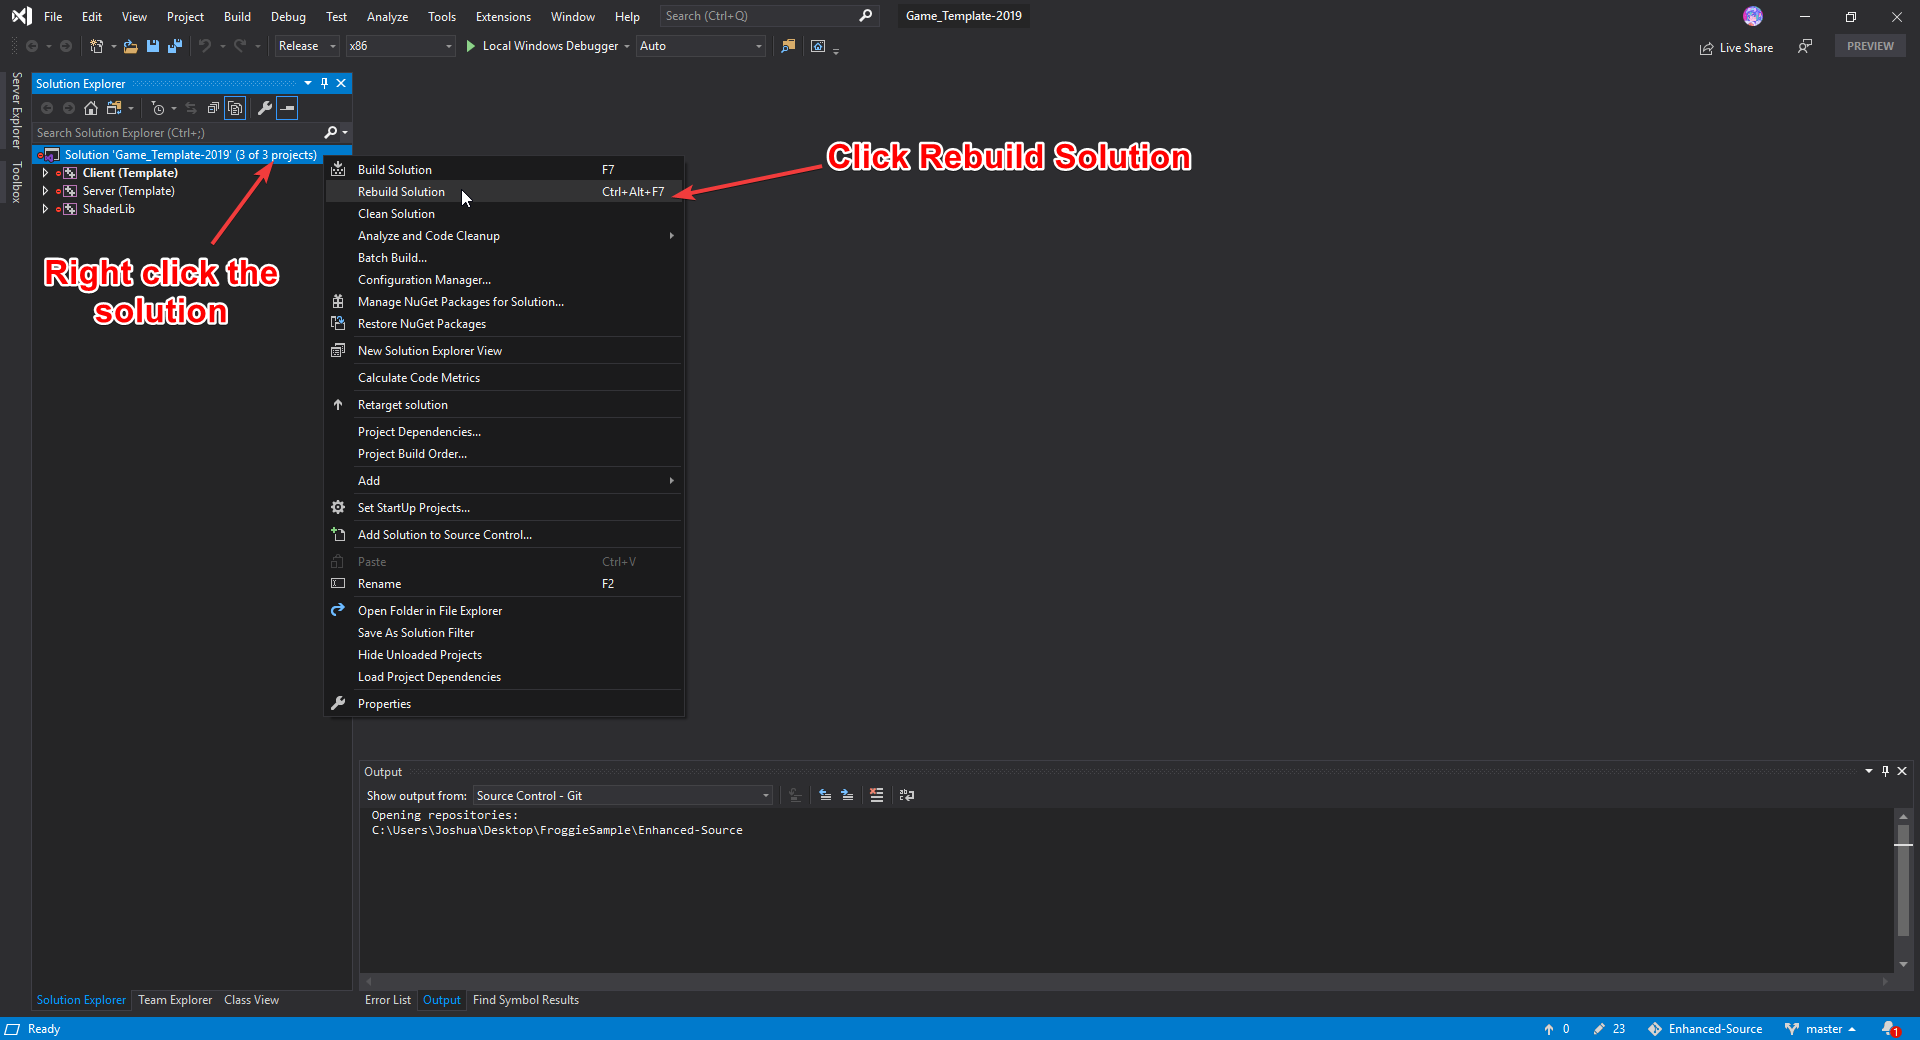
Then we can actually build the projects by right clicking on the Solution and selecting Rebuild Solution.
Congratulations! You just built the template project.
You can now run it by going to the game folder (outside of the src tree), and running launcher_template.bat.

In the next part, we will cover adding our own entity, a little hoppy frog with user interactibility and physics.